Wednesday, December 29, 2010

"Nap Time" Door Sign

New Dremel tool for Larry=one more craft for us to take on together! :)

Larry received a Dremel tool from his parents for Christmas and I think I was just as excited about it as he was! Our first project was for our neighbor. They asked me to make a "Baby Sleeping" type sign to put on their front door for when their 1 year old was napping in hopes to keep from solicitors, etc. from disturbing the little one. Unfortunately this project had been put off for a few months with all of my Christmas and birthday gifts I had to make, but with this new tool, I thought it would be the perfect opportunity to put it to use!

First step--draw on the design. I free-hand drew in pencil the words "Ssshhh...Quiet Please It's nap time" with the picture of a little crib and Zzz's below it on a piece of wood. Unfortunately during the first go around, there was a blow-out in the wood when Larry was cutting away (meaning there was a hole INSIDE the wood that "opened up" when he cut over it) causing a gap in one of the letters so we had to start a second sign. That go around, we took out the words "It's nap time" seeing as how we thought the crib was a good enough representation of the idea! :)


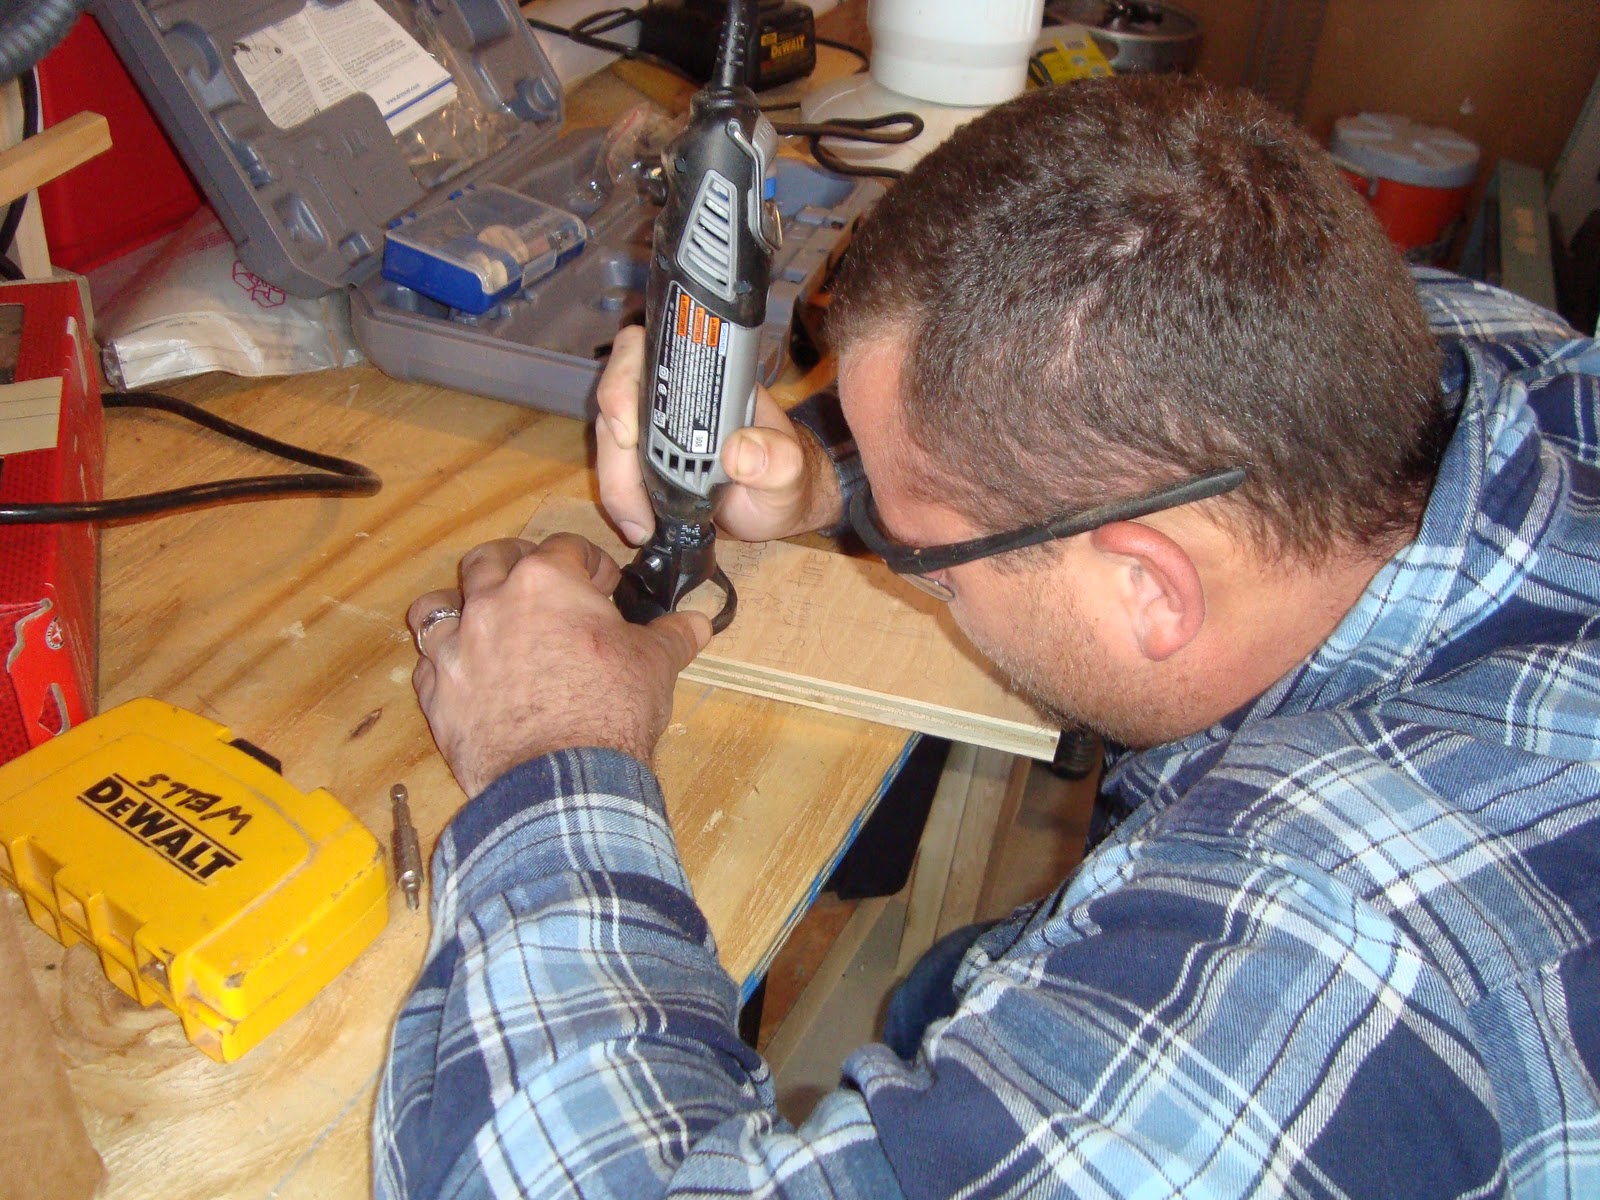
Larry cutting away and concentrating!! It took a good 20-30 minutes for him to finish--you can only go so fast when cutting AND it was his first real go-around with the tool. :) 


 I personally LOVE how it turned out when he was finished--"natural" and so pretty and I really wanted to leave it the way it was! We came to the conclusion that it would be better to add something to the letters so that it would be easier to read once it was hung. Unfortunately we didn't have any wood stain or a wood burning kit (yet!) so we decided to add some paint to the design.


He picked out the colors and I filled in the gaps! :) 
He then added two holes once the paint dried and I tied in some ribbon!


 Here is the final product hanging on our neighboors door for when they get home from Christmas vacation. Isn't it SO adorable?! :)


They were SO excited about their surprise when they got home!
Larry and I are both beyond happy that they loved their gift!!


Hope the sign helps the precious 1-year old get some beauty sleep! :)

signature

Sunday, December 26, 2010

Custom Tile Coasters {Tutorial}

Here's a project that I've been wanting to do for quite some time--tile coasters! I made a set of 8 different ones--custom for each of the girls in the office at work to keep for their desk (or bring home!) as a small Christmas gift. There are MANY tutorials out there, so I combined a little steps of each to make my own. :)

Supplies:
4x4 Tile(s)
Corkboard or Foam
Paper
Paper Mod Podge
Spray Adhesive
Acrylic Spray
Brush-on Glue (optional)
Mod Podge Sparkle (optional)
Sponge brush/paint brush
Scissors
Patience!! :)

Step 1. To help protect your counter, desk or wherever your coaster will set, we'll use corkboard! Cut your corkboard to the desired size. I just used a pair of scissors, but I'm sure there are many ways to do this! Cut to either the exact 4x4 size of your tile, or a tad smaller so that your tile has on overhang. I chose option B where I cut them a tad smaller than the tile. 

Step 2. Get creative!! Are you doing coasters with a monogram, photo, patterned paper...? Design your coaster look! For my coasters, I chose to do a monogram with each girls first initial along with a patterned paper that reminded me of them. A very helpful tool for this was my Cricut! I used various colors and fonts to create the monograms. Also, cut out your "background" paper. Cut it just a tad larger than your 4x4 tile. (This is also when I used my Mod Podge Sparkle to add some bling to the letters!)


Step 3. Adhere the corkboard to the tile. First, apply spray adhesive to the cork--be carfeul, it IS messy! Optionally, apply a small amount of brush-on glue to the corners for extra support.  


Adhere the cork to the back center of the tile.

Step 4. Mod Podge time! Apply a good but smooth layer of Mod Podge to the top of the coaster and adhere your paper. Smooth the paper as best as you can with no ripples. Trim out the corners of the overhanging paper. (see below) Mod Podge the edges of the tile and fold the paper to adhere it to all sides.


Adhere your monogram! Apply a coat of Mod Podge over your paper and edges, then lay your letter on top. Let dry. Apply another coat of Mod Podge over the entire coaster. Let dry. Apply one last coat over everything. This is when patience is key. :) And don't worry--the Mod Podge will dry clear!


Step 5. Final step! Once the Mod Podge has completely dried, break out your acrylic spray. Follow the manufacturer's directions and apply a few coats to finish the coaster--this will give it a nice shine and serve as a final protective coat. 


Let dry and enjoy your final product! (Princess Belle is mine :)


I left each coaster on the girls desks at work with a little note that read:
"Here is a treat
For your cold (or hot!) drink feet
To help prevent a mess
From being made on your desk"

I was so glad that each girl was more excited and thankful for their gifts than I thought they would be!


I also made a set for a close family for Christmas. They loved it and it matches their kitchen perfectly!
For this set, I used a neutral color floral patterned scrapbook paper for the background with a centerpiece of a rooster image that I found and printed from online. 


I also plan to make a set (at some point in time!) for our own house using black and white photos of Larry and I, family and friends!<3


signature

Sunday, December 19, 2010

DIY Christmas Ornament

After much thought (and googling!) I decided on a technique for a DIY Christmas Ornament for my male manager. Keyword--male. That meant glitter, fun colors and bows could not be used! Which was harder than I thought...I knew I definitely wanted to include an old favorite basketball team logo and that was about it. I was open to any and all suggestions when finally I came across this technique at Mab Blab and fell in love. This is what I ended up with!


The idea for this technique is pretty simple. 
You remove the lid to the ornament--plop in your paint colors--cover the opening and swirl and shake!


I added the logo by printing out the image and adhering it with Paper Mod Podge. 


My manager ended up loving the gift and thought that I had originally purcahsed it--which is always a compliment. The idea is simple but the result is a clean look--and just the perfect fit for a guy!

Variations of this technique include using multiple colors and adding glitter. 
Every ornament made using this technique truly turns out to be one of a kind!

I also managed to sneak in a quick DIY T-Shirt with the same logo usinng a simple printable iron-on image of the teams logo. :)


Saturday, December 4, 2010

Decorative Pillows

I was asked to make some pillows to be placed in Lily Dily's booth at Art Angels antique shop here in town. She supplied all of the FABULOUS fat quarter fabrics as well as some buttons and trims. She gave me free reign in putting together these pillows and designing them...though sometimes it was challenging (because my mind has these GREAT ideas that are rather difficult to make happen) I ended up loving EVERY pillow and was sad to let them go to their owner.

Here was my first pillow. Instead of diving in and using two fat quarters right away, I opted to play it safe and just use one so that made the pillow a smaller rectangular shape. I added a ruffle trim from the same fabric on the front and finished it with a blue ribbon.
  

The next pillow I tackled was with my FAVORITE fabric of them all so I knew I wanted to do something different and pretty. I decided on embellishing the pillow with some handmade different styles of flowers out of coordinating fabrics. This was the most time consuming part--creating the ruffled and rolled flowers. I also embellished it with some buttons and ribbon. The back is a super fun coral and white polks-dot fabric.


At this point Larry thought what was the point of these pillows if you can't touch them? 
He doesn't so much see the purpose in DECORATIVE pillows :)


After my first two pillows I kind of took off in making the rest! One of my next ones was a sqaure pillow that had a coordinating fabric strip on the font that I trimmed with lace. I embellished the center with a green felt flower shape, some Heat-n-Bonded fabric and a button in the center. It's a little different and fun and it turned out awesome. The back is the same fabric as the strip on the front. 


The next pillow was Larry's favorite. He said it looked ready to be placed in a baby boy's room. I think he was starting to get the idea of decorative pillows. :)  
I used an adorable blue and yellow striped floral fabric with a matching yellow solid fabric. I decided to break out some of the ric-rac that Lily Dily supplied me with. 
Though this was probably the most challenging pillow to put together, it turned out amazing!


I also made a round pillow, which was my first. Simple idea, but a fair challenge in keeping it a PERFECT circle while sewing. :) Each sides were made from different fabric and had a center button for a finished look. The pillow on the right was a simple square shape. Since there was so much going on with the fabric print, I left it with just a center button as well. :) The back was a contrasting green and brown polka dot fabric.  


All of the fabric was VERY different from each other, but a few of my favorites had a very vintage/chic feel. Bows are very much in style right now and fit right in with the feel of the vintage-style fabric, so I free hand cut a felt shaped bow and stitched it on the front of my next pillow. The back was a beautiful coordinating large floral print. I LOVE the girly-ness of this pillow! 


There was a fabric that was SO pretty that I didn't even want to add a button to it! The floral print was large and pink and so beautiful that I just centered it as a square pillow and used a coordinating green floral print for the back. I think this may the pillow that Lily Dily kept for herself, as she loved the pink flowers as much as I did.


Here are all the pillows in their glory. I love each and every one and hope Lily Dily does too--and that she has success in selling them at her shop!  


signature