

Supplies:
4x4 Tile(s)
Corkboard or Foam
Paper
Paper Mod Podge
Spray Adhesive
Acrylic Spray
Brush-on Glue (optional) Mod Podge Sparkle (optional)
Sponge brush/paint brush
Scissors
Patience!! :)
 Step 1. To help protect your counter, desk or wherever your coaster will set, we'll use corkboard! Cut your corkboard to the desired size. I just used a pair of scissors, but I'm sure there are many ways to do this! Cut to either the exact 4x4 size of your tile, or a tad smaller so that your tile has on overhang. I chose option B where I cut them a tad smaller than the tile.
Step 3. Adhere the corkboard to the tile. First, apply spray adhesive to the cork--be carfeul, it IS messy! Optionally, apply a small amount of brush-on glue to the corners for extra support.


Adhere the cork to the back center of the tile.

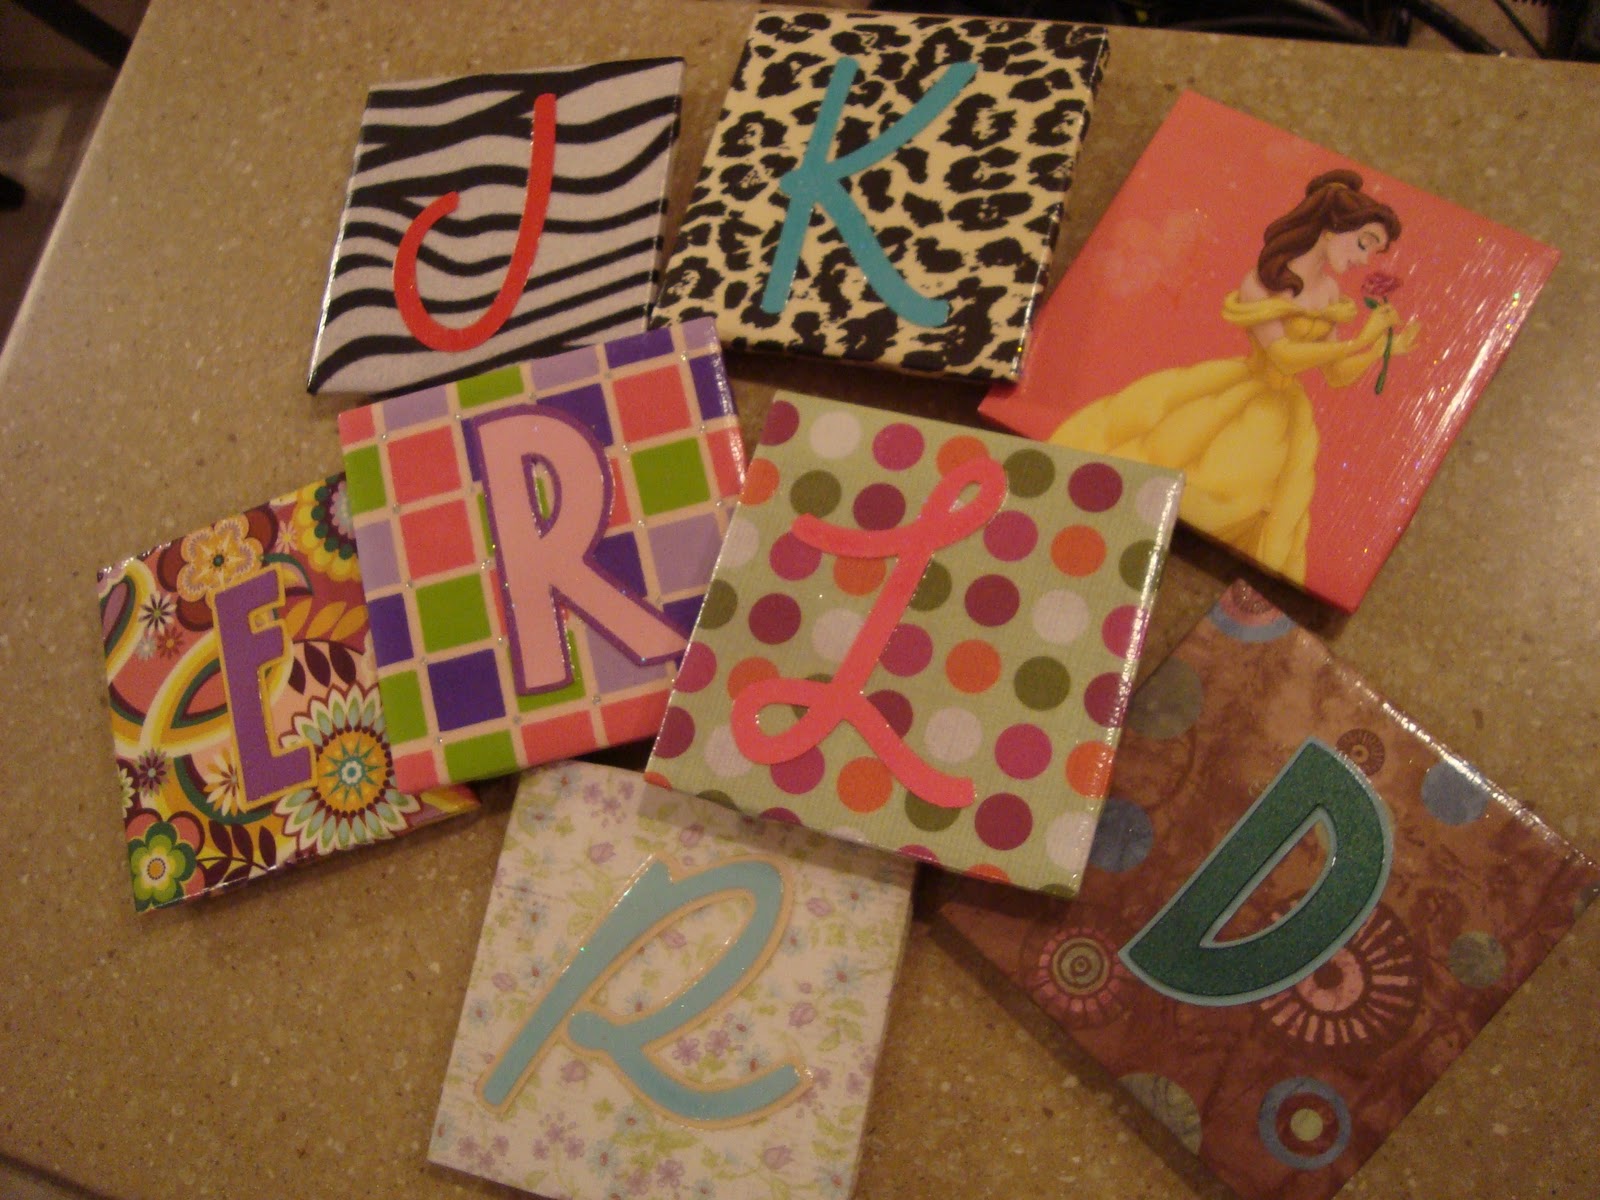
Adhere your monogram! Apply a coat of Mod Podge over your paper and edges, then lay your letter on top. Let dry. Apply another coat of Mod Podge over the entire coaster. Let dry. Apply one last coat over everything. This is when patience is key. :) And don't worry--the Mod Podge will dry clear!


Let dry and enjoy your final product! (Princess Belle is mine :)

I left each coaster on the girls desks at work with a little note that read:
"Here is a treat
For your cold (or hot!) drink feet
To help prevent a mess
From being made on your desk"
I was so glad that each girl was more excited and thankful for their gifts than I thought they would be!
"Here is a treat
For your cold (or hot!) drink feet
To help prevent a mess
From being made on your desk"
I was so glad that each girl was more excited and thankful for their gifts than I thought they would be!
I also made a set for a close family for Christmas. They loved it and it matches their kitchen perfectly!
For this set, I used a neutral color floral patterned scrapbook paper for the background with a centerpiece of a rooster image that I found and printed from online.


I also plan to make a set (at some point in time!) for our own house using black and white photos of Larry and I, family and friends!<3


4 comments:
So great! I love them customized - and your little note is perfect. :D
Love your coasters! The make for wonderful gifts!
So glad I found your post - I was going to order some for my Dad and Mom off etsy but decided I must be able to do it myself - I would like to use photos with nautical map backgrounds of where the photos were taken - have you tried this using photopaper yet?
Just curious but wouldn't anything you place on the coaster that sweat get your furniture wet causing damage since there is no protection from the coaster to the furniture. I know the cork would soak it up but that laying on the furniture. So any idea's on how to prevent that? This is such a great idea and a wonderful project. I already have the perfect picture to decorate mine with.
Post a Comment