

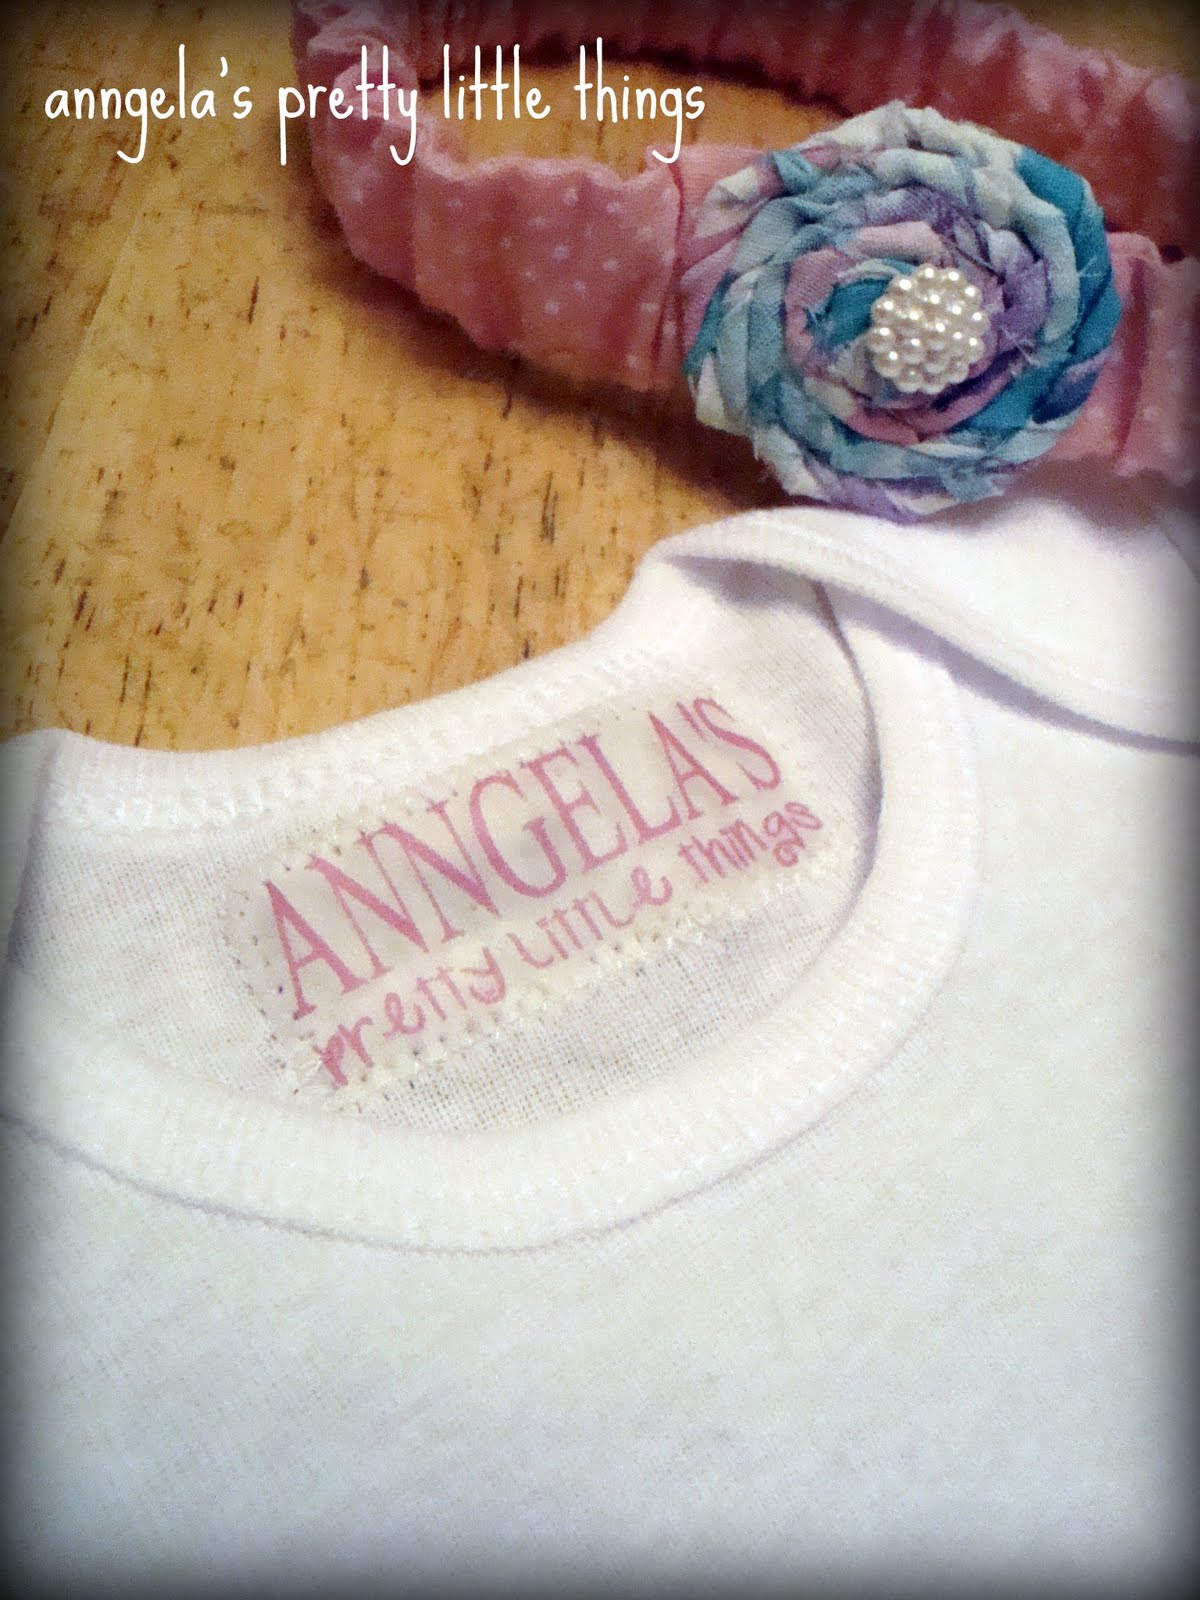
Another baby girl is on her way--a friend is expecting her little one in less than 2 weeks now! Unfortunately I was unable to attend her baby shower and missed the fun and games, but still gave her a few handmade gifts for baby Fayelyn. Using the same tutorial from Running With Scissors as I did for the onesies in this post I made a custom dress and matching headband from some girly vintage fabric.

The headband was a first-time creation and it turned out better than planned! Since I had no 'baby headbands' on had, I created a cloth casing from the matching pink & white fabric and inserted a piece of elastic. After googling I came to a common measurement of 12-13" for the headband with it being able to stretch to approximately 16" for a 6-9 month baby size.I made a simple fabric rosette and centered it with a pearl button and attached it to the headband using a felt backing and hot glue. One of the easiest projects to date and it turned out darling!


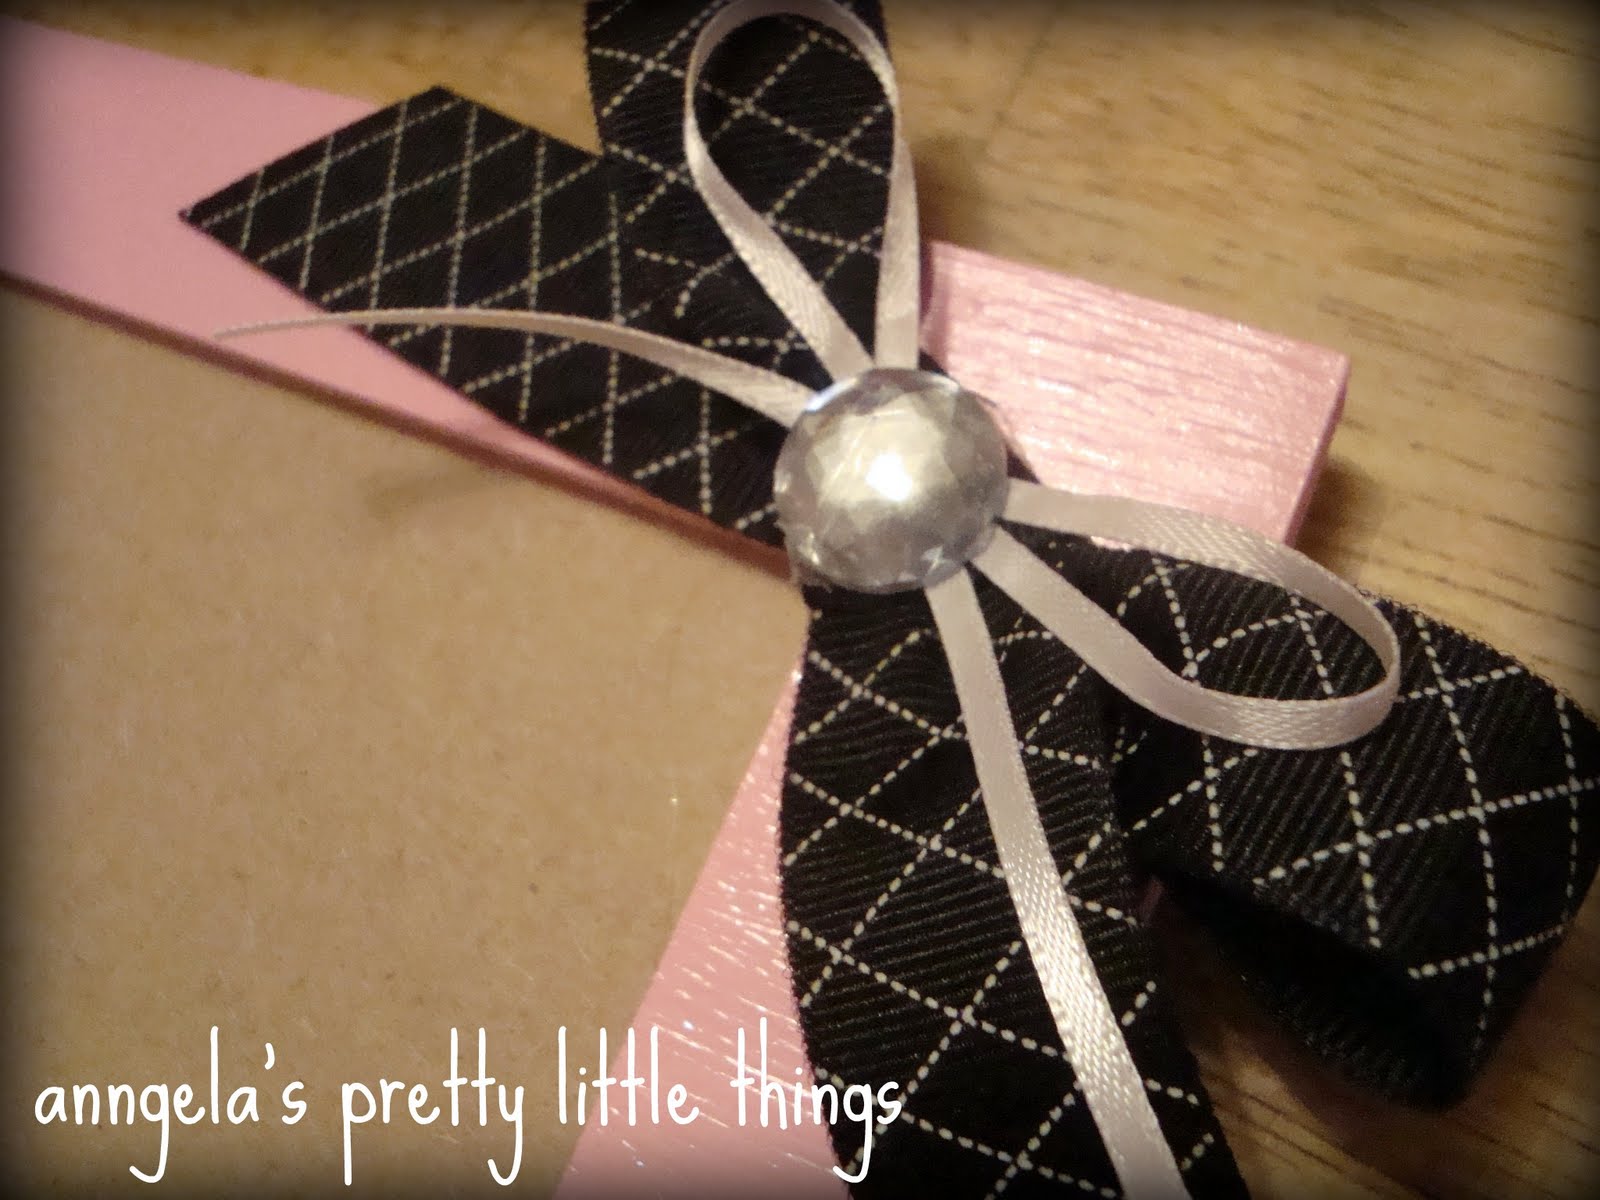
Along with her onesie, I made a picture frame to match her nursery.
HOW TO make frame: I painted a wooden frame with 2 layers of pink acrylic paint, sealed it with a layer of Mod Podge, glued on ribbon, a matching handmade bow, a few pearl and crystal embellishments along with matching epoxy letter stickers.


We can't wait to meet baby Fayelyn!


1 comment:
Awe this is so cute! I've yet to make a baby headband! I LOVE making the onesie dress. It's now a classic baby shower staple of mine! LOVE the picture frame, too!
Thank you for linking up at Sew Woodsy last week. Hope you'll join us again tomorrow!
Post a Comment