Tuesday, August 9, 2011

Handmade Wedding Gift {DIY}

Two of our very good friends got married this past weekend and I wanted to make something special for them--something handmade and personal. They're the same friends who Larry and I made this 'nap time door sign' for and I knew they would appreciate something handmade. I toyed around with a few different ideas; some of which I will probably do for Christmas, but ultimately decided upon a hand-painted canvas with a print of their wedding vows. A few days before the wedding, I barely got my hands on the entire script to their wedding ceremony (thanks to the bride's sister and wedding planner) which created a dilemma as to what part of the ceremony I would use. Larry and I ultimately decided on the 'blessing' script in place of using their vows. It describes a marriage beautifully and it's as if we are extending that blessing to them onward from past their ceremony and wedding day.

It was a tedious process, there were lots of changes and I encountered a few bumps in creating her along the way, but ultimately it turned out beautifully! 


I started off sketching free-hand a simple damask print on the left side of the canvas. My original idea was to include their last name as well on the canvas but the blessing script we chose to use was a little larger than their vows so we didn't have enough room.


Multiple layers of paint when onto this canvas--at least two of the lighter gold for the damask print and two of the antique gold for the canvas surface. It took much time and patience, but it was worth the labor!


I printed the blessing script onto cardstock, adhered it to a specialty glitter paper and off-centered it to the damask print. I added two beautiful butterflies--something that is very meaningful and symbolic to the bride.


In addition to their canvas and a gift off their registry, I created two 'Newlyweds Night Out' Babysitting Passes. They have an adorable {almost} 2-year old and Larry and I thought they would like a few nights to themselves as newlyweds! :)

Their wedding took place in Pembroke Pines (right near Ft. Lauderdale, FL) at the Capriccio Ristorante-- it was such a beautiful venue, so intimate and ornate and everyone had such a great time!

Larry and I with the newlyweds!

They are SUCH a sweet couple
 
Wyatt was SUCH a trooper and seemed to be having a blast at the wedding;
dancing with the girls and blowing kisses to everyone!

Ashton made such a cute and beautiful bride!

Randy was definitely a fun groom!


We wish all three of their family the best of everything for their future and hope they love their gifts!
We can't wait for them to return from their honeymoon in Jamaica!!


signature

Monday, August 1, 2011

Peanut Butter Delight - Doggie Cupcakes {Recipe}

July 29, 2007 -- When this little booger entered the world.


November 28, 2007 -- When this little booger entered MY world!


Starting off at a little over 5 pounds (at 4 months) and nothing but a Maltese furball, Bailey was the first puppy I ever had. I purchased him on November 28, 2007--yes, on Black Friday. The deal was; Larry gets a new flat screen TV and I get my puppy. I didn't think I would actually end up getting a dog (as we had just took the big leap and moved out on our own) but once I met Bailey I knew I had to have him--and the Black Friday price specials didn't hurt either. ;) After waiting about a week for him to finish getting his shots, our whole world was turned upside down once we finally brought him home. From potty training to kennel training he was one handful of a puppy! But getting Bailey was the best thing that I had ever done--he is so fun and so loving and brings us so much happiness every day! This year on Friday, July 29, 2011 he turned 4 years old. I can't believe my baby has grown up so fast! (I know--we talk like he is our child...but until we have REAL children, he is definitely our baby!)

Bailey's first bath

Bailey is definitely a huge part of our family. :) 

 Thankfully he loves the pool just like his mommy. Well--he likes being on the raft anyway. :)

And you know this pup belongs in the sunshine state since he loves his boat rides!

 He's a little goofy at times...

And likes to beg--a LOT.
  

 And even though he's a little 'not-worth-anything' dog, he gets plenty of love from everyone!
If I had a dollar for every time I heard "I don't like small dogs, but I love Bailey" then I'd be a millionaire.
I am truly grateful that Bailey is such a perfect pup!!


 I think it's safe to say that thanks to the tremendous love from his grandma and grandpa (Larry's parents) Bailey has gained a little weight! At 4 months he was a mere 5 pounds but after 4 years he has grown into a whopping {almost} 14 pounds! And even though the vet just said it wouldn't hurt that for his age Bailey lose 2-3 pounds, I couldn't resist making him a yummy treat for his birthday!
 

:Dog Birthday Cake Recipe:
Peanut Butter Delight
(recipe was found at Birthday Dog Cake Recipes)

Ingredients:
1 cup white or whole wheat flour 
1 tsp baking soda 
1/4 cup peanut butter 
1/4 cup vegetable oil 
1 cup shredded carrots (I left this out--like his mommy, Bailey doesn't like all kinds of veggies!)
1 tsp vanilla 
1/3 cup honey 
1 egg
Directions:Preheat oven to 350°F (180°C)
Mix together flour and baking soda. Add remaining ingredients and mix well. Pour into a ring mold sprayed with a nonstick spray for 40 minutes. 
**I chose to make cupcakes in various sizes rather than one cake. Note: Bake the cupcakes at about a quarter of the time to prevent burnt cakes--not that I learned from experience or anything. :) 
Cinnamon Frosting:
Combine the following ingredients and blend thoroughly:
12 ounces nonfat cream cheese (room temperature) 
3 tsp cinnamon 
1 tsp vanilla 
1 tsp honey


Bailey loved this recipe and was nice enough to share his treat with his best friend, Harley! (Larry's parents' pit bull) Along with his cupcakes and a few treats from the pet store Bailey also got a few new toys since keeping his stuffed animals in one piece is pretty hard to do with a pit bull in the house!! :)

He could smell that somethig was in the oven!


Bailey loved his new toy frog! I also found a blue star that reminded me of one of his first toys that he LOVED--needless to say he was anxious to get ahold of it!


Hiding one of his treats under a pillow--crazy pup!

Harley and Bailey waiting patiently for their cupcakes.


Bailey eating his first mini cupcake!

I think it's safe to say he loved it! :)
 
Harley swallowed his whole full-size cupcake in about 5 seconds!


This was sent to me on Bailey's birthday--what perfect timing!
If you want someone who will eat whatever you put in front of him and never say it's not quite as good as his mother's...
Then adopt a dog.

If you want someone always willing to go out at any hour, for as long and wherever you want...

Then adopt a dog.
If you want someone who will never touch the remote, doesn't care about football, and can sit next to you as you watch romantic movies...

Then adopt a dog.

If you want someone who is content to get on your bed just to warm your feet and whom you can push off if he snores...

Then adopt a dog.
If you want someone who never criticizes what you do, doesn't care if you are pretty or ugly, fat or thin, young or old, who acts as if every word you say is especially worthy of listening to, and loves you unconditionally, perpetually...


Then adopt a dog. 
I can't imagine what my life would be like without being able to spoil Bailey or come home to the love of my pup every day!!

signature 


Tuesday, July 26, 2011

Baby Onesie Dress and Headband {Tutorial}


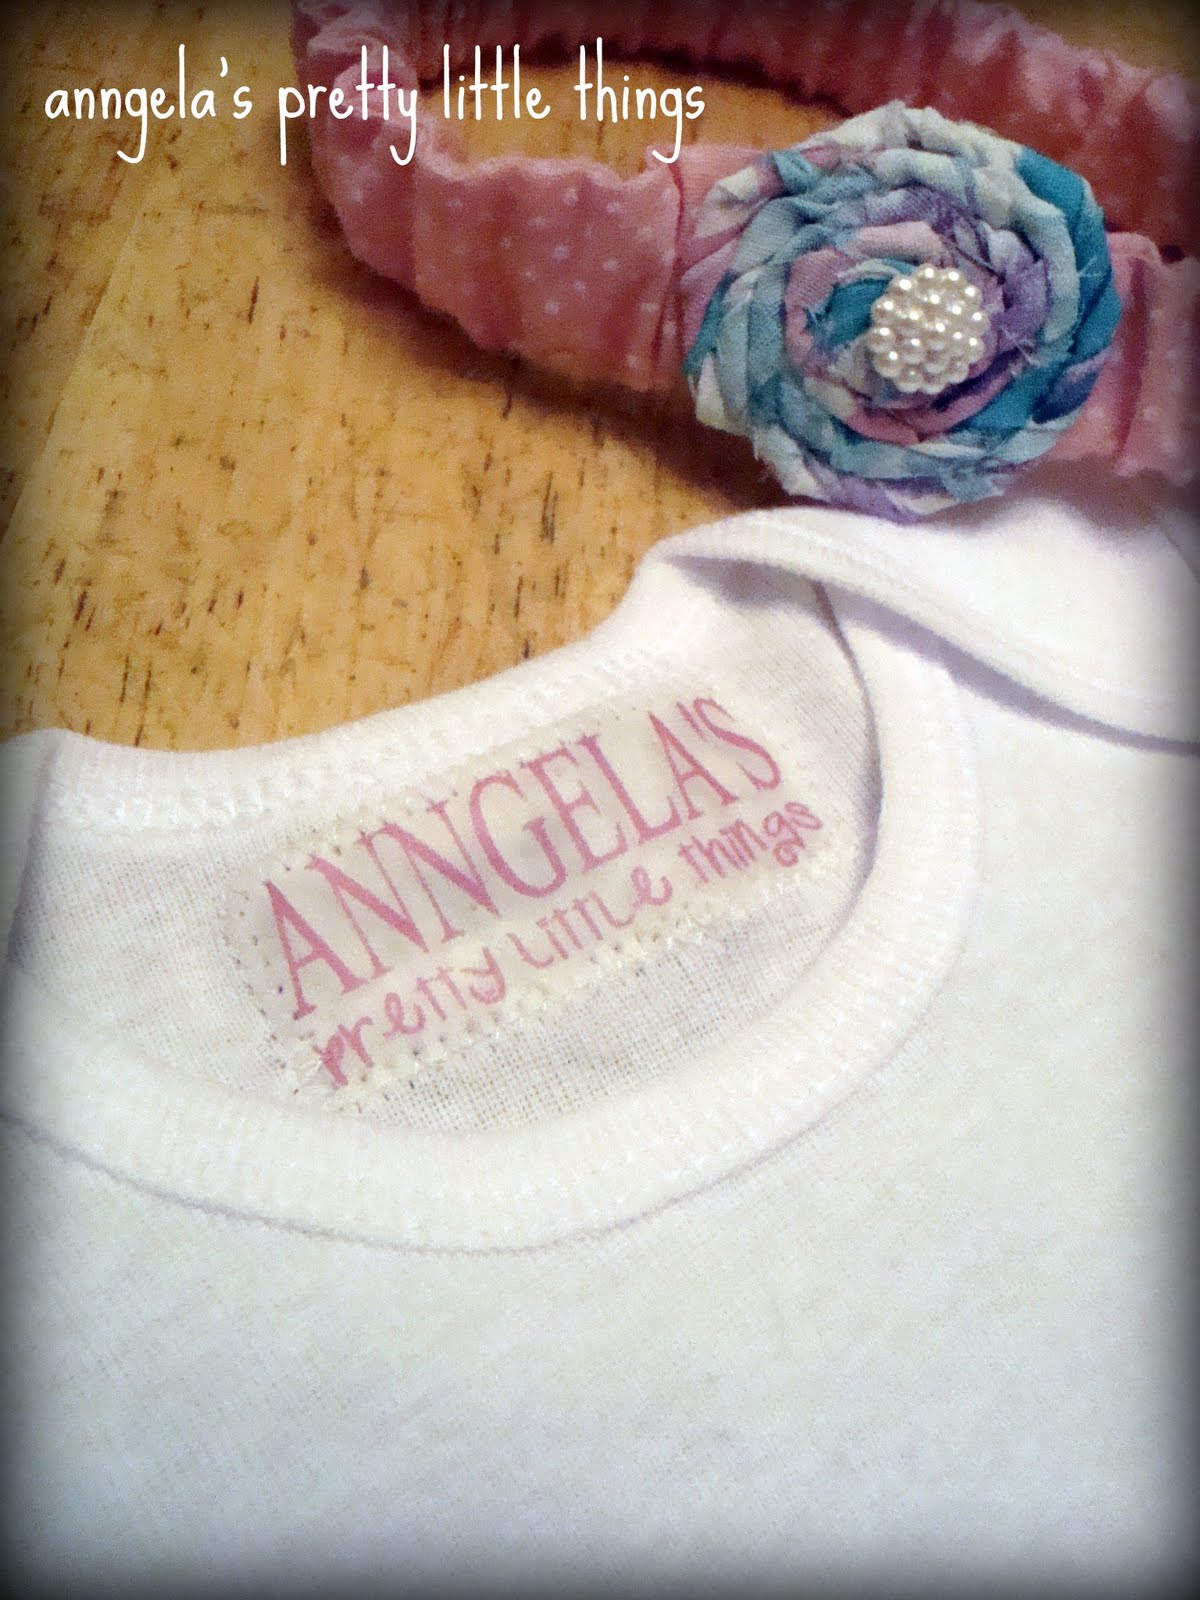
Another baby girl is on her way--a friend is expecting her little one in less than 2 weeks now! Unfortunately I was unable to attend her baby shower and missed the fun and games, but still gave her a few handmade gifts for baby Fayelyn. Using the same tutorial from Running With Scissors as I did for the onesies in this post I made a custom dress and matching headband from some girly vintage fabric.


The headband was a first-time creation and it turned out better than planned! Since I had no 'baby headbands' on had, I created a cloth casing from the matching pink & white fabric and inserted a piece of elastic. After googling I came to a common measurement of 12-13" for the headband with it being able to stretch to approximately 16" for a 6-9 month baby size.I made a simple fabric rosette and centered it with a pearl button and attached it to the headband using a felt backing and hot glue. One of the easiest projects to date and it turned out darling!


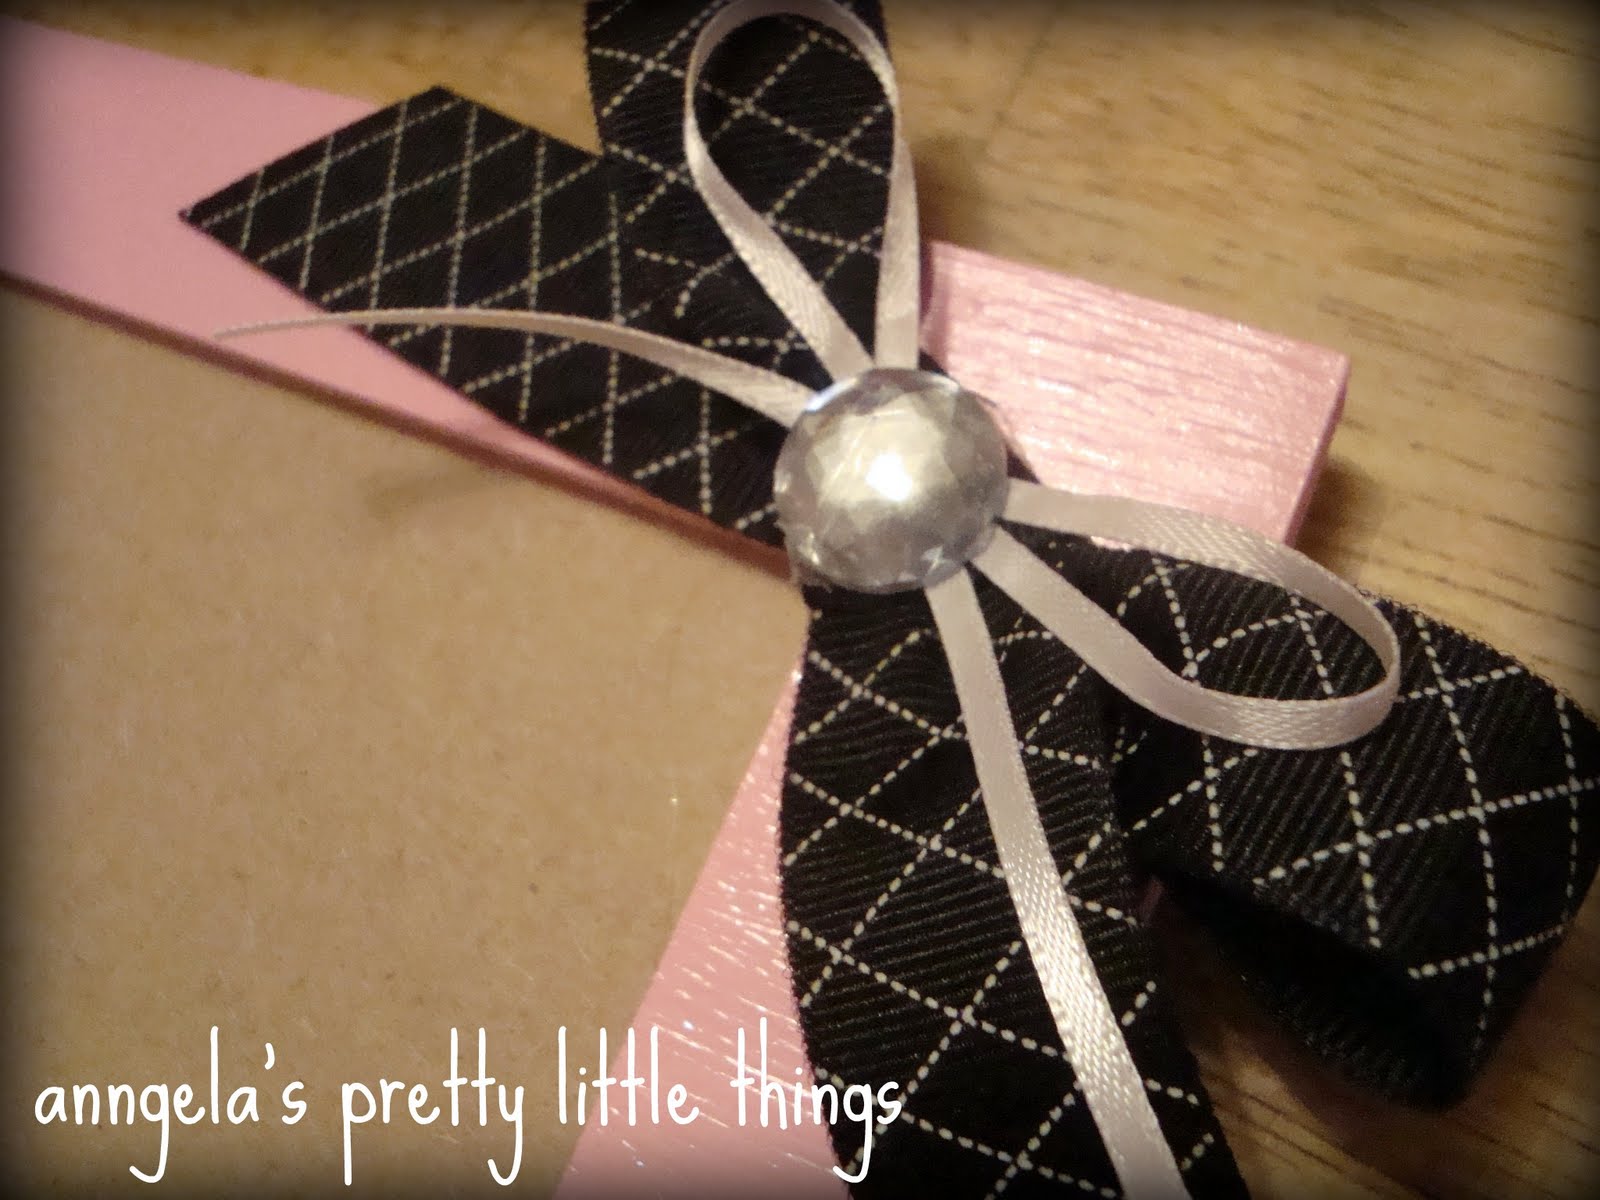
Along with her onesie, I made a picture frame to match her nursery.
HOW TO make frame: I painted a wooden frame with 2 layers of pink acrylic paint, sealed it with a layer of Mod Podge, glued on ribbon, a matching handmade bow, a few pearl and crystal embellishments along with matching epoxy letter stickers.


We can't wait to meet baby Fayelyn!

signature

Thursday, July 7, 2011

A Very Simple Strapless Dress {Mini Tutorial}

One of my latest tutorial finds was this super cute ‘Simple Skirt’ from Katy at Sweet Verbena. I stumbled across her blog via Pinterest and though she is fairly new to the blog world she has some adorable and amazing tutorials. Her style is awesome and her projects are simple and fun. In addition to making a ‘Simple Skirt’ I also used the same idea from her tutorial to create my most recent dress--meet the Simple Strapless Dress! 

This was a learn-as-I-go sewing project for myself. I’ll try to explain as best I can the steps I took and adjustments I made to the skirt tutorial. Once you review and understand Katy's skirt, this should be a breeze for you to make!


Here is what I used:
1 and 2/3 yard of 45” wide fabric
1” wide elastic
Sewing Essentials

((Please bare with me as it may get a little wordy since I don't have photos of the steps I took; for reference please visit Katy's tutorial as she took very helpful photos of each step!))

For the first step, rather than folding your fabric completely in half lengthwise to create a 2-layer skirt as Katy did, fold down your top edge roughly between ¼ -½ way down your fabric. To get a more accurate measurement of how far you should fold your fabric, measure the height of your bust. Do this by measuring from the top of your chest (or the bottom of your armpit--where the dress will sit) to directly under your bust. Add about 2 inches to that measurement and fold your fabric.

Since your bust measurement is longer than what the equivalent measurement of your back would be, cut your folded fabric with a slight curved edge working from the center to the ends. This will help eliminate any excess fabric or poofiness on your back.

Here is my pitiful attempt at creating a diagram to describe this:
The faint gray line is where your fabric is folded over to and the black curved line is what you will cut out from your flap
Create your casing at the top of the fold just as Katy did. Do this by laying down your elastic across the top of the fold and pin directly underneath it. Sew a straight line where you just pinned. Here is your first casing!

This is when Katy slides in her elastic, gathers the skirt and sews up the two sides to finish her skirt--super simple!! To create my dress, we will add one more step so that we can create the casing for the second elastic around your waist.

Leaving about an inch seam allowance, sew a line along the bottom of your curved fabric flap. Lay your elastic as best you can around the curve and pin on top of the elastic (same idea as the first casing) and sew along that pinned line. Your two slightly curved sewn lines create the casing for your second elastic.

Here is another lame attempt at a diagram:
The two grey dashed lines are where you sew to form your casing
Measure your elastic to where one piece fits comfortably around your upper chest and another piece around your waist. Be sure to have enough slack to stretch over your head but enough tightness to hold up your dress. Insert your pieces of elastic through the casings using a safety pin (or whatever works best for you!) and pin the elastic to each open end. Stretch both of your elastics and play with the fabric to get a nice even gather. Hem the bottom of your dress (if needed). Pin the two edges together, right sides facing each other, and try on your dress if you’d like. Make any adjustments to your elastic at this time. Once fitted, sew straight down the edges to form your dress and you’re all done! **You'll notice that one key difference from the skirt was that my one seam is worn at the back of my dress, rather than at the sides.

Add a belt for a little more shape if you'd like!


If you have ANY questions at all in regards to making a dress of your own, please do not hesitate to contact me!

Thank you Katie from Sew Woodsy, Danielle from Blissful & Domestic and Kelly from Running with Glitter for featuring my dress!!

signature