Showing posts with label accessories. Show all posts

Monday, May 23, 2011

Ribbons and Pearls Jewelry Set {Mini Tutorial}

I posted the tutorial for the green pearl ring I gave to my friend Lisette for her birthday here. She loved it so much she wanted me to make another set out of purple pearls to be used for a good friends birthday gift! It is very similar to the green one but with a little added bling--and it has matching earrings rather than a bracelet.


With the leftover pearls I decided to make a jewelry set for myself since besides my charms that I turned into a necklace, I haven't made any new jewelry for myself in a while. Here is what I came up with!
 

I first started with the necklace. I knew I wanted to create that floating-pearl-on-a-long-chain-look but about halfway through I remembered Disney's J.Crew inspired necklace post off my 'Someday Crafts' list and thought that it would be the perfect time to make it--I just love the bows, they are my favorite part of the necklace!...I knew I had everything I needed already on hand and after searching many boxes for the perfect matching ribbon I got to making my set.

::Supplies::
Necklace
Chain
Pearls
Ribbon
Eyepins
Crimp bead covers OR clasp

Bracelet
Pearls
Jewelry stretch cord
Ribbon

Earrings
Headpins
Ribbon
 Earwires

Also a pair of needle nose pliers, wire cutters, a handy bottle of super glue and a lighter 
(don't forget to singe all of your ribbon ends so they don't fray please!)

Disney did a FABULOUS job giving details of the various supplies and directions for making the necklace. If you're a beginner jewelry-maker, please read this! She has fabulous details and pictures in reference to the supplies and tools. For my necklace, the only difference was that I used less pearls and a thinner ribbon--I also secured my bows with a few dabs of super glue rather than a needle and thread. I also used the matching ribbon for the closure of the necklace rather than a clasp attached to the chain. To do this, simply knot a strand of ribbon to each end of your chain. Use a crimp bead cover to hide your knot. Simply tie the ribbon around your neck to wear the necklace!


For the bracelet:

This one is the easiest! Cut a piece of stretch jewelry cord the length of your wrist plus a good 3-4 inches for room to strand your pearls and tie a knot. Strand your pearls onto the cord. Make sure to have enough pearls to where the bracelet is snug, but not too tight. I used a square knot to tie the cord. Trim your strands and tie on a bow with your ribbon for looks. :)


For the earrings:
Strand a pearl to the bottom of your headpin. Create a loop with your needle nose pliers and trim off the excess wire (the same as Disney does with her pearls on her necklace). Open your loop and strand the pearl onto your earwire. All that's left is to add the bow...I'm not going to lie, doing this took the most time out of the entire set! Tie a bow around the loop you made from your headpin rather than onto the earwire. This will allow for the bow to sway with the pearl while still facing forward. Once you have the PERFECT bow tied, get your super glue and dab some on the back, front and all around your bow to hold it in place! :) All done!


I am beyond pleased with how simple this was, fast it took to make and great it came out!
I bet you'll think twice about purchasing that $30+ set similar to this at Express, Anthro or NY&Co. since you can make one of your own in only 30 minutes! :)


Thanks Rebecca for featuring my jewelry set on My Girlish Whims!!

signature

Friday, May 20, 2011

Fabric Flower Belt {Mini Tutorial}

As promised, here is the mini-tutorial for the matching belt to my latest one shoulder summer dress! This is a SUPER quick and easy accessory you can add to any outfit!


::Supplies::
Belt Fabric (I used a suede)
Flower Fabric (I used a stretch knit--the same fabric as my dress)
Small piece of Velcro
Hot Glue
Scrap Fabric
Safety Pin
Sewing essentials (machine, thread and scissors)

The fabric I chose for my belt was a brown light-suede. I wanted to be able to add an accessory that would allow me to wear brown wedges or heels with my dress rather than just a lighter pair of shoes. My flower was made from the same material as my dress--a stretch knit.

First step: Measure your waist (or where you want your belt to sit). I wanted mine to hit right below my chest--the smallest part of my torso. Add about 3 inches to that for finishing and overlapping. Also, decide how wide you want your belt to be. My finished belt is about 2" wide. Cut a strip of fabric the length of your waist measurement (with the extra 3 inches) and 2.5 times the width that you want your belt to be. (For a 2" belt like mine, cut your strip about 4.5 inches wide)

Second step: Sew! Face your fabric right sides together and pin along the edges to keep the fabric straight, if necessary. Sew a straight line down your belt from end to end creating a tube. Trim off your excess seam allowance.


Try to cut your fabric straighter than I did :)
 Third step: Turn your belt ride side out and press flat with the seam in the center. Sew a top stitch at both the top and bottom of your belt for a finished look and to keep the belts shape. The center seam will be the back side of the belt.

Front side of your belt with top stitches
Back side of your belt with top stitches and center seam


Fourth step: Turn in both of your ends and sew the openings shut. When determining how much to turn in, make sure that the belt fits snug but still has some extra length for overlapping to add the velcro (that's where the extra 3 inches comes into play). Once sewn shut, sew on your velcro at the overlap by making sure one piece is on the "top" side of the belt and the other is on the "bottom" side of the belt so that they adhere when you put it on. Your belt is done!


Fifth step: Make your flower. I used the ruffle flower technique. After I made my flower, I hot glued a piece of scrap white fabric that I cut into a circle to the back of the flower to secure the shape. I then glued a smaller extra piece of fabric to the back that I could slide my safety pin into--only glue the ends of the small strip so the pin can slide through it. Slide your safety pin onto the flower, pin it to your belt and you're done!

I wore my belt to where the velcro was in the front and the flower was pinned directly over the velcro. It would be cute to off-center your flower as well (just not as cute with my one shoulder dress--too much asymmetry going on) ;)

The fact that the flower is safety-pinned and can be removed allows for your belt to be worn solid or with any other accessory attachments. :) I think a solid ruffle flower would look nice with my dress as well!

 Enjoy your new belt!!

signature

Friday, May 6, 2011

Brad Charm Necklace {Tutorial}

I stumbled upon a fabulous post from Ashley at Lil Blue Boo on her mini brad charms tutorial. It is beyond simple and you can truly make almost ANY type of charm from this idea. Her tutorial is amazing and perfectly detailed, so I'll just give you a brief run down. :)

:Supplies:
Metal brads--any size or shape
Mod Podge Dimensional Magic (or Embossing Powder)
Jump rings
Embellishments

The idea for these charms is very similar to that of my mod podge dimensional magic bracelet but you first have to "make" your charm. To create your charm out of the metal brad, remove the two prongs from the back by wiggling them back and forth until they fall off. To make the hole for the jump ring, simply use a hammer and nail to "poke" through the brad. It's MUCH easier and quicker than it sounds--just give it a few small taps! Trim and smooth any sharp edges with your nearby nail tools. :) You then decorate the inside of your brad--use paper, fabric, stickers, jewels, photos, embellishments...anything! Once it is all glued in and secured, add your jump ring. The next step is when Ashley used embossing powder, but I went with Dimensional Magic since I already had some on hand. It gave me great results! Keep the charms as level as possible when drying. Every now and then give the jump ring a wiggle so that it doesn't dry into the Dimensional Magic.

For my first charm I used a paper sunflower scrapbooking embellishment. I also wanted to do a summery charm, so I cut the word 'tan' from a summer themed scrapbook page and added a sticker jewel for my second. For my third charm I stuck on a glitter-gold sticker with the letter 'a.' I was a little concerned about the paper flower curling or the glitter from the 'a' spreading but they all turned out perfect once they dried! The hummingbird design was cut from a piece of scrapbook paper. This was made from a bezel-set charm that I found at Michaels on clearance forever ago--I finally found the perfect project to pair it with!

As I first applied the Dimensional Magic
The Dimensional Magic will get more clear as it dries

Once they are dry you are all done! Add them to a bracelet or necklace and show her off.
I got lots of compliments the first day wearing her--people are always so impressed (but not surprised) that I made the charms myself!
They really do look store-bought...but little do they know how simple it is to make!


Happy charm making!

Thank you Kelly from Running With Glitter and
Ginger from Support Blog for Moms of Boys for featuring my charms!
signature

Friday, April 29, 2011

Spring has Sprung Bib Necklace

They're being sold everywhere from Old Navy, to Anthropologie, to Etsy...these beauties are super popular right now and I have been itching to make one for months. I finally scrounged up some scrap fabric and a few jewelry supplies to make one for myself--finally, my first bib necklace!

Here are some details of the various flowers...I thought it would be perfect for spring and summertime to do a variety of different styles and sizes. I made the majority of the flowers into rosettes and had two additional burnt petal flowers. I also added a few pearls, lace, some other floral embellishments, pearl trim and some ribbon for that extra detail. I used contrasting (but complimentary) colors for all the different flowers so that I could be sure to wear it with multiple outfits.

And here she is...


I know she seems pretty big and has a lot going on--but that's the point, right? I wore her for Easter with a simple blue linen dress and yellow cardigan. She also looks fab with any solid color shirt or tank. The key is to wear something low-key so that the necklace will really liven up the outfit!


I love her and all her glory...each little flower handmade with love <3

Thank you Tammy from She Wears Flowers
Krista from Thar She Sews 
Chiara from Calico and Cupcakes 
and Katie from Sew Woodsy
for featuring my necklace!

signature 

Monday, April 25, 2011

Easy Ribbon Headband {Mini Tutorial}

I am a huge fan of headbands and DIY-ing hair accessories, so when my friend Ashley told me about a headband project she wanted to attempt and asked if I wanted to join, I jumped on board. We went shopping together (at Hobby Lobby as well as through grandma's craft supply goodness, which is always the best!) and picked up all the necessities. We made our headbands on our own time but each had success and they turned out super cute! This is such an easy and quick project and for some people, all the supplies may already be on hand! The basic supplies you need are:

Ribbon (at least an inch wide)
Velvet ribbon (same width as your original ribbon or thinner)
Thin elastic
Sewing machine and essentials


Ashley already did a post on her headband with a simple to follow tutorial so no need to repeat--go here to check it out. Another good friend of mine, Katie from Sew Woodsy, did a similar take on this headband last month--she made hers out of a towel to be used as a "sweatband" when working out--how cool! 

Ashley's headband for running and Katie's "sweatband" for working out

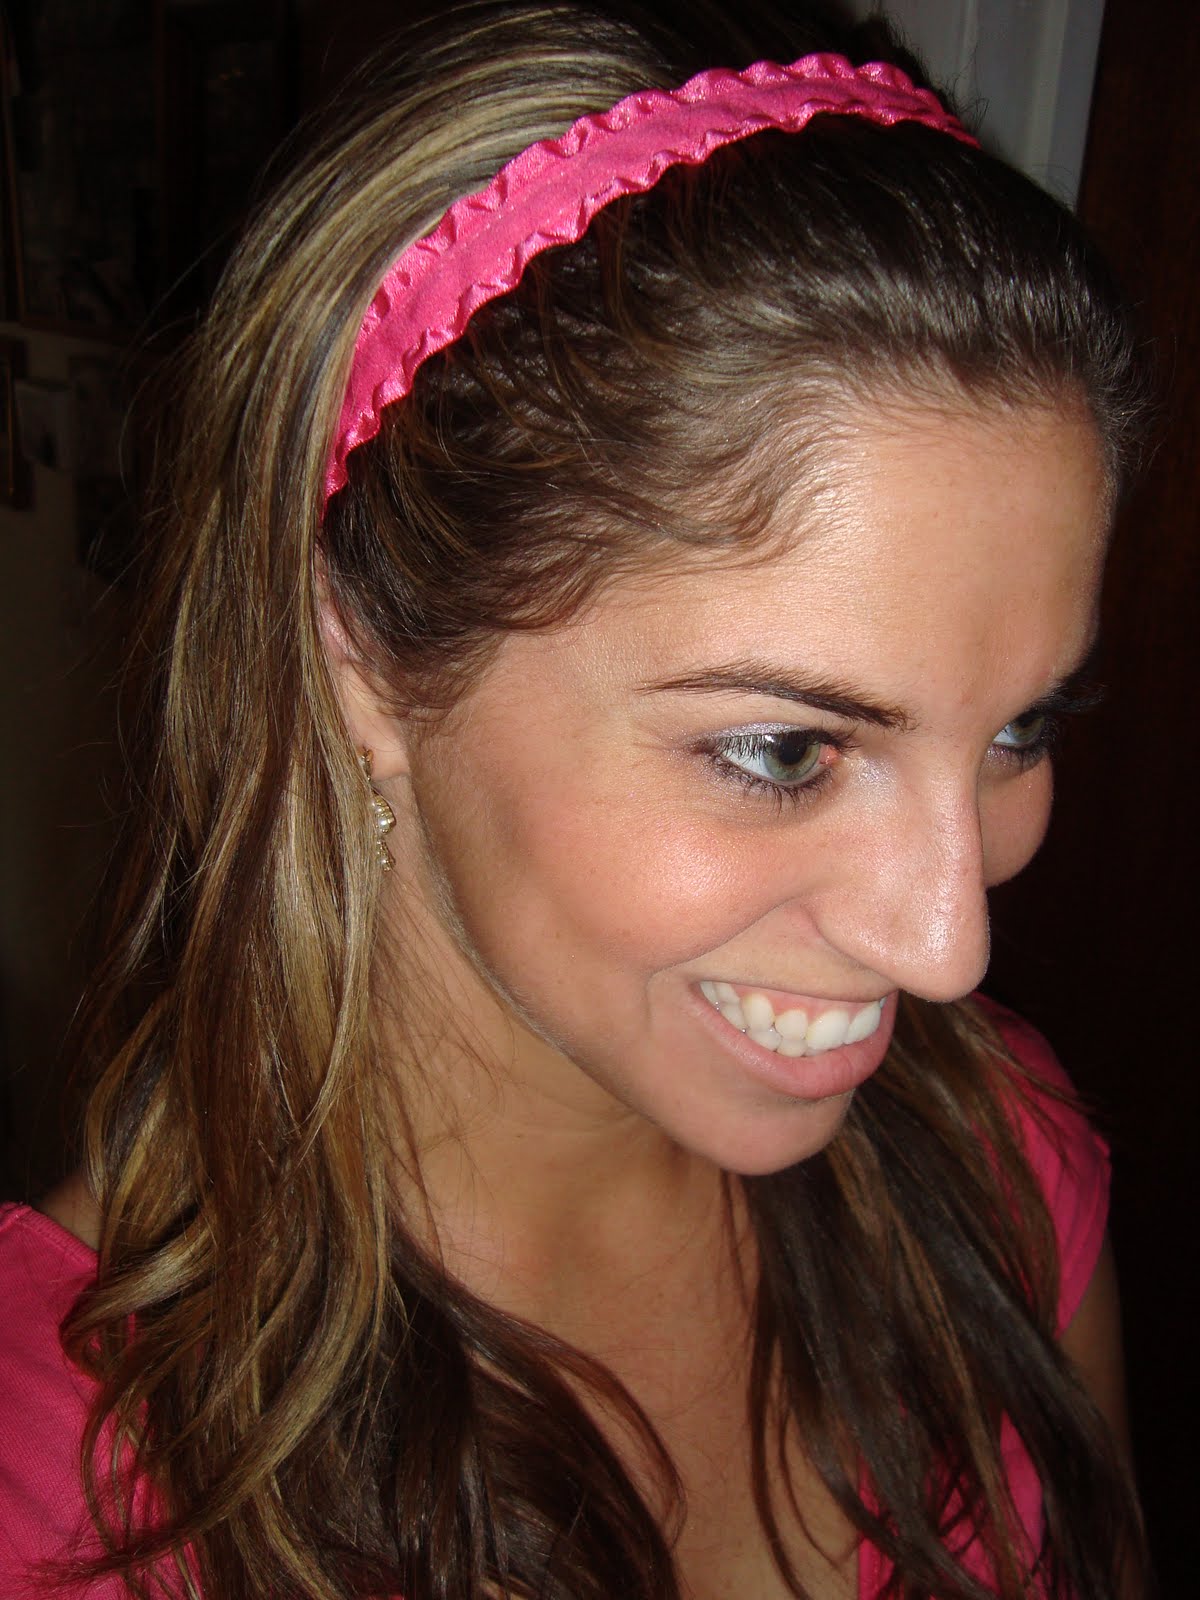
Here was my first headband.


Pink, ruffly, girly...so me. :)


My second headband I made was for Christmas time.


Plaid...red, green and gold...and I attached a bow. :)

Get creative! There are oodles of ribbon options out there--you could also add a flower,
bow or brooch to spice it up! :)
signature

Tuesday, April 12, 2011

The Interchangeable Rosette {Mini Tutorial}

One of my most favorite accessories that I am currently addicted to is the fabric rosettes and flowers. Any style, shape, size or color. They are so easy to make and add the perfect girly touch to any outfit! I started off making my first fabric flower to match one of my elastic waistband skirts. I made this one by cutting various sized circles from my fabric. I then ran a short loose stitch in the center of each to gather the fabric and then layered them on top of eachother, securing it with a button in the center. I added a piece of felt with two slits in it to the back where I can switch out between a hair clip or safety pin. 


One of the next fabric flower styles that I attempted was from the ruffle shirt by Tea Rose Home on my grey ruffled tank. These are made by creating a ruffle in your fabric, folding it in half and rolling it into itself, sewing it together along the way. I have since used this method the most often to create other brooches and accessories to outfits. 


My most recent endeavour was to make the rosette. I have been wanting to create a bib necklace, headband, bracelet or anything of the sort to get that vintagy, girlie feel from these beauties. There are MANY tutorials out there on how to make these flowers, but this one here from Little Birdie Secrets is perfect (I sometimes use hot glue in place of fabric glue which works JUST as good). Little Birdie Secrets also has an amazing post on rosettes and the MANY things you can create with them. Her genius idea of making these accessories removeable/interchangeable is awesome! Since I had no velcro on hand (or that I could find!) I simply used a second piece of felt on top of the original and adhered it with hot glue on only two edges of the circle--this creates a "tunnel" to slide a headband, bracelet or hair clip in. Now you can use the SAME rosette for your hair, a headband, bracelet, pin or anywhere you can think of! :)


My first interchangeable rosettes consisted of a larger one from a shinier black material and two smaller ones from the scraps of an old black t-shirt; all three finished off with a white pearl center. They look great all together, paired up or by themself.


Here they are paired on a headband, a single one on a strip of lace around my wrist, 
and two variations slid onto a clasp bracelet.


I can't wait to make more and play around with multiple colors! :)


signature