

This was a learn-as-I-go sewing project for myself. I’ll try to explain as best I can the steps I took and adjustments I made to the skirt tutorial. Once you review and understand Katy's skirt, this should be a breeze for you to make!
Here is what I used:
1 and 2/3 yard of 45” wide fabric
1” wide elastic
Sewing Essentials
((Please bare with me as it may get a little wordy since I don't have photos of the steps I took; for reference please visit Katy's tutorial as she took very helpful photos of each step!))
Since your bust measurement is longer than what the equivalent measurement of your back would be, cut your folded fabric with a slight curved edge working from the center to the ends. This will help eliminate any excess fabric or poofiness on your back.
Here is my pitiful attempt at creating a diagram to describe this:
The faint gray line is where your fabric is folded over to and the black curved line is what you will cut out from your flap
 |
This is when Katy slides in her elastic, gathers the skirt and sews up the two sides to finish her skirt--super simple!! To create my dress, we will add one more step so that we can create the casing for the second elastic around your waist.
Leaving about an inch seam allowance, sew a line along the bottom of your curved fabric flap. Lay your elastic as best you can around the curve and pin on top of the elastic (same idea as the first casing) and sew along that pinned line. Your two slightly curved sewn lines create the casing for your second elastic.
Here is another lame attempt at a diagram:
The two grey dashed lines are where you sew to form your casing

Measure your elastic to where one piece fits comfortably around your upper chest and another piece around your waist. Be sure to have enough slack to stretch over your head but enough tightness to hold up your dress. Insert your pieces of elastic through the casings using a safety pin (or whatever works best for you!) and pin the elastic to each open end. Stretch both of your elastics and play with the fabric to get a nice even gather. Hem the bottom of your dress (if needed). Pin the two edges together, right sides facing each other, and try on your dress if you’d like. Make any adjustments to your elastic at this time. Once fitted, sew straight down the edges to form your dress and you’re all done! **You'll notice that one key difference from the skirt was that my one seam is worn at the back of my dress, rather than at the sides.
 |
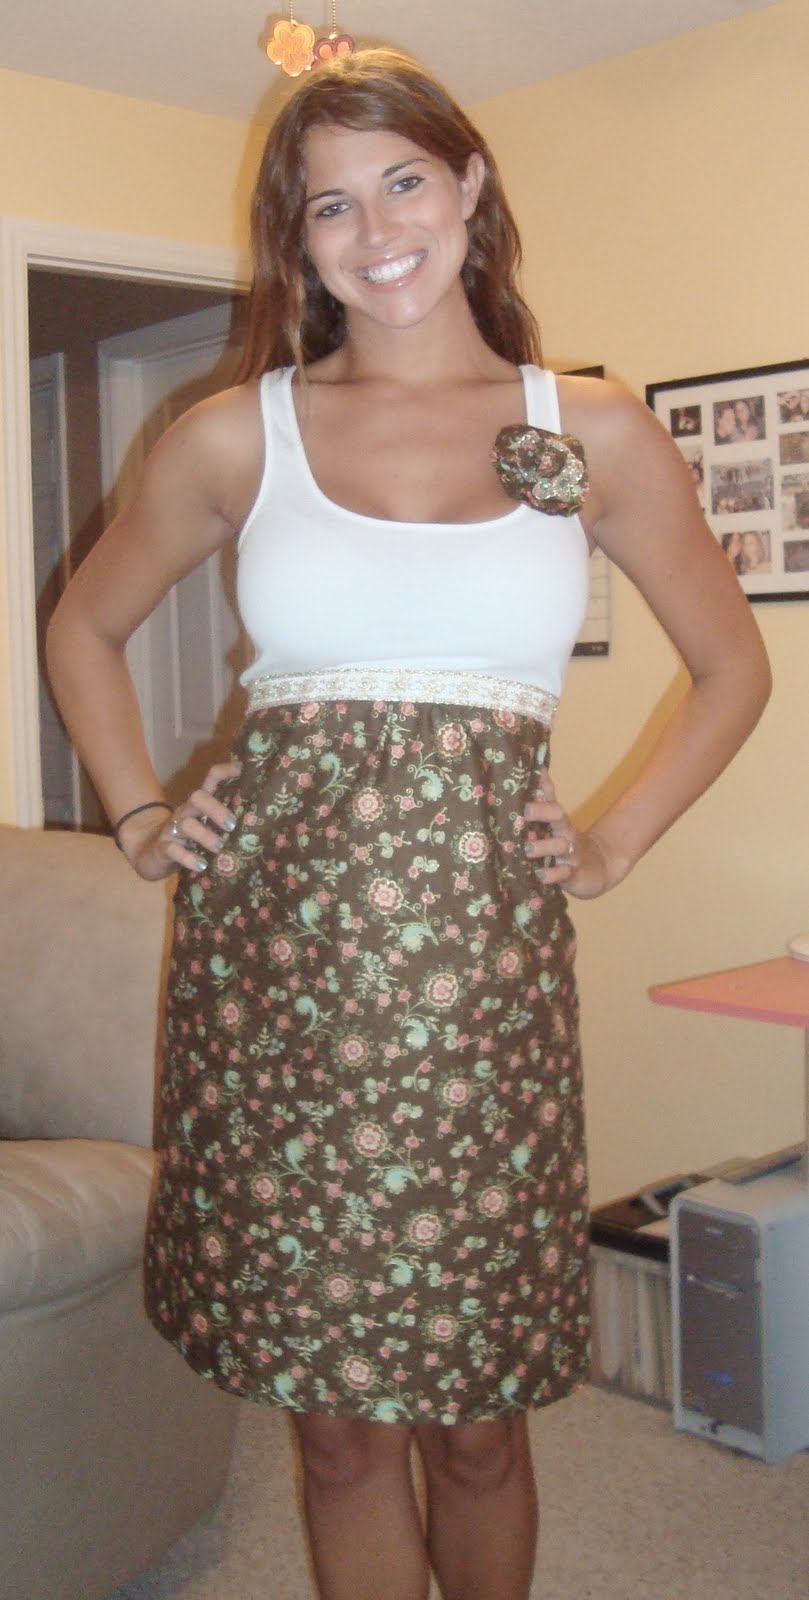
| Add a belt for a little more shape if you'd like! |


If you have ANY questions at all in regards to making a dress of your own, please do not hesitate to contact me!
Thank you Katie from Sew Woodsy, Danielle from Blissful & Domestic and Kelly from Running with Glitter for featuring my dress!!


